
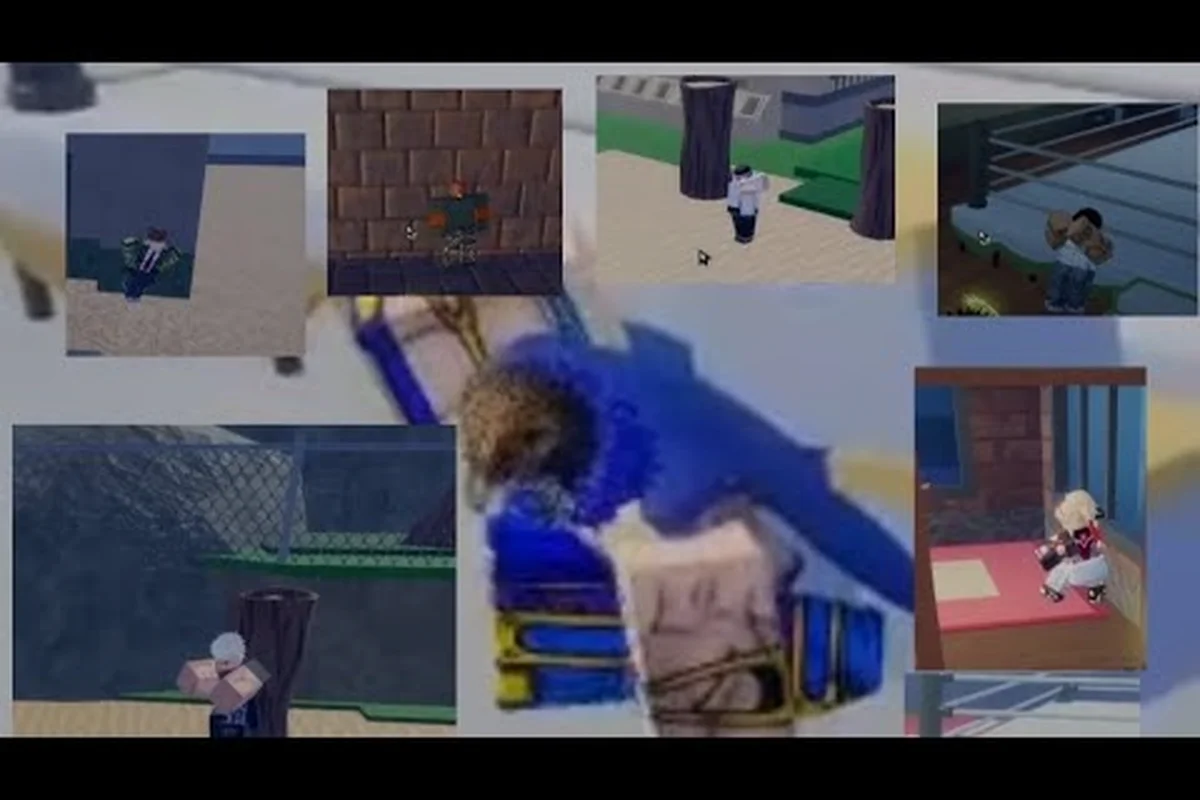
Choosing the right Ryujin best subskills can decide whether you dominate ranked lobbies or get carried out of the arena in seconds. Subskills are the active abilities that define your build's identity, and because each one is taught by a specific trainer, knowing where to go saves you hours of aimless grinding. This guide breaks down the strongest picks, their exact locations, and how to pair them with stances for maximum impact.
The subskill system works alongside your fighting style, letting you slot abilities that cover weaknesses or amplify strengths. While your style determines your basic moveset, subskills give you the utility tools — escapes, speed boosts, and tracking — that win close fights. According to the official Ryujin game page on Roblox, players train stats and choose skills to create their own build, which confirms that subskill selection is a core part of the progression loop rather than an afterthought.
Ryujin subskills overview and how they work
Before you chase the Ryujin best subskills, you need to understand the system's rules. Each subskill occupies a slot in your loadout, and you can equip a limited number at once, which forces you to make meaningful trade-offs rather than stacking every powerful ability. The game's Trello board, which the community maintains with developer input, lists each subskill along with its trainer and cooldown, giving you a reliable reference for planning your build.
Subskills fall into three broad categories based on their function: passive stat boosts that permanently raise core attributes like ATK or Crit Rate, active combat arts that consume Focus to trigger unique attack sequences or buffs, and utility skills that alter movement or provide defensive layers such as guard breaks or evasion windows. For Ryujin, prioritizing passive boosts like Blade Mastery over flashier actives often yields higher sustained DPS, especially in PvP where stance-switching between Flow and Fury dictates your optimal subskill rotation.
-
Escape tools — abilities that break grips, create distance, or grant brief invincibility
-
Mobility enhancers — speed boosts and repositioning tools that control engagement range
-
Information abilities — tracking skills that reveal enemy positions and give you a tactical edge
The cooldown system matters more than most new players realize. A subskill with a 25-second cooldown might feel powerful, but if you waste it early, you're vulnerable for the entire duration. Veteran players recommend saving your escape tools for guaranteed value moments, like when an opponent commits to a combo starter, rather than panic-using them at the first sign of pressure.
Your fighting style also influences which subskills feel strong. A defensive style that lacks mobility benefits more from a speed boost, while an aggressive style that pushes constantly might prefer an escape tool to reset unfavorable trades. This synergy is why the fighting styles guide emphasizes understanding your base kit before optimizing your subskill loadout.
Breakout — the best escape subskill in the game
Flashstep's 25-second cooldown versus Breakout's instant escape
Flashstep and Breakout serve fundamentally different roles despite both being movement-adjacent. Flashstep grants a short burst of extreme speed on a 25-second cooldown, making it a proactive tool for closing gaps or fleeing before a fight starts. Breakout, conversely, is purely reactive—it has no listed cooldown but triggers only when carried or gripped, making it a defensive panic button. Choosing between them depends on your build: aggressive players benefit from Flashstep's initiation potential, while defensive players need Breakout to survive combo extensions. Running both is viable but leaves you without a dedicated tracking subskill.
Spatial Awareness for tracking Seong users and NPCs
Spatial Awareness highlights players in red and NPCs in white across the map, giving you a constant read on enemy positions. This is critical when fighting Seong clan members, who can copy your skills—knowing their location lets you avoid engagements until their 45-second copy cooldown resets. The red/white distinction also helps in PvE farming: you can spot NPC trainers from across the map, allowing you to chain subskill acquisitions without wandering. For PvP, the wallhack-style vision lets you pre-position for Flashstep engages, ensuring you never waste its 25-second cooldown on a blind dash.
If you only unlock one subskill, make it Breakout. This ability lets you escape from being carried or gripped, which is the most dangerous position you can find yourself in during PvP. When an opponent lands a grab, they typically follow up with a damaging combo that can take 40% or more of your health, so having a reliable answer to that pressure is non-negotiable.
The mechanics behind Breakout are straightforward but powerful. On use, you heal to 5% health and gain 1 second of invincibility, shown by a white outline around your character. That invincibility window is what makes the ability exceptional — it doesn't just break the grip, it also prevents the immediate follow-up attack that most players attempt after a successful grab.
Here's how Breakout stacks up against the other defensive subskills in Ryujin's kit: unlike Iron Guard's flat damage reduction or Parry's precise timing window, Breakout's true value lies in its instant activation—it breaks you out of any stagger, knockdown, or grab lock the moment you trigger it, even mid-combo. This makes it the only defensive option that works reactively against multi-hit True Combo chains in PvP, where a single mistimed Parry or a missed Guard read means eating the full punish. For PvE, it also nullifies boss grab attacks that bypass guard entirely, turning what would be a guaranteed 1,500+ damage throw into a free counter-window. The trade-off is its cooldown—roughly 20 seconds at max level—so you're choosing burst escape over sustained mitigation, which suits aggressive stance-swap playstyles better than passive turtling.
| Subskill | Effect | Cooldown | Best Use Case |
|---|---|---|---|
| Breakout | Escape grips, heal 5%, 1s invincibility | Short | Anti-grab defense, combo reset |
| Flashstep | Greatly speed up for a short period | 25 seconds | Chase downs, disengage, reposition |
| Spatial Awareness | See players in red, NPCs in white | Passive | Tracking, ambush prevention |
The 1-second invincibility after Breakout is the detail that separates good players from great ones. Because the white outline tells you exactly when the protection ends, you can time your counter-attack to land the moment it expires, catching opponents who expect you to flee rather than fight back. This makes Breakout both a defensive tool and a setup for offensive pressure.
You can learn Breakout from the trainer Gon, whose location is documented on the Ryujin Trello board. The training requirement involves a short quest chain, but the payoff is worth the effort since this single subskill can neutralize entire playstyles built around grab setups.
Flashstep and Spatial Awareness — mobility and tracking
While Breakout handles defense, Flashstep and Spatial Awareness cover the other two pillars of PvP success: positioning and information. Flashstep makes the user greatly speed up, moving very fast for a short period of time, which makes it the premier tool for controlling engagement distance. The 25-second cooldown means you get roughly two uses per minute, so you need to make each one count.
The speed boost from Flashstep isn't just about moving faster — it changes how opponents have to play against you. When you can close distance instantly, ranged players can't kite you effectively, and when you can retreat at will, aggressive players can't force unfavorable trades. This flexibility is why many top players consider Flashstep a core component of the Ryujin best subskills loadout for open-map modes.
Spatial Awareness takes a different approach by giving you passive information rather than an active ability. It lets you see players highlighted in red and NPCs highlighted in white around the map, which effectively removes the element of surprise from your matches. Knowing where your opponent is before they know you've spotted them lets you set up ambushes, avoid third-party fights, and rotate to objectives with confidence.
The trade-off between these two subskills comes down to playstyle: Flashstep rewards aggressive, close-quarters dueling with its brief invulnerability window for dodging through attacks, while Spatial Awareness suits a reactive, positional approach by revealing enemy trajectories on the minimap. If you favor Ryujin’s burst damage combos in PvP, Flashstep lets you close distance safely; if you prefer controlling engagement range and pre-empting ambushes, Spatial Awareness’s tracking offers superior map control.
-
Flashstep rewards proactive play — you use it to force engagements and dictate pace
-
Spatial Awareness rewards reactive play — you use the information to make better decisions
Both subskills have their place, but they serve different roles in a build. If your fighting style already has strong gap-closing tools, Spatial Awareness adds more value by preventing flanks. If your style is slow and methodical, Flashstep patches that weakness directly. The trainer for Flashstep is Yoruichi, and Spatial Awareness comes from Inosuke, with both locations listed on the community Trello.
Best subskill combinations for different playstyles
Breakout's 5% heal and 1-second invincibility window
Breakout's escape utility hinges on its precise numbers: using it heals you to exactly 5% health and grants 1 second of invincibility, visualized by a white outline. This window is not for recovery—it's for repositioning. In a PvP scenario where an opponent grips you after a combo, popping Breakout at 5% HP lets you survive the follow-up attack and immediately dash away. The 1-second i-frames are best spent inputting a counter-attack or creating distance, not standing still to heal, as the 5% threshold leaves you vulnerable to any lingering AoE.
Seong clan's skill copy as a subskill multiplier
The Seong clan (5% legendary drop rate) fundamentally alters subskill strategy by allowing you to copy any skill automatically at the cost of eyesight. The copied skill lasts 60 seconds or until used, whichever comes first, with a 45-second cooldown after copying. This pairs exceptionally well with Flashstep: copy an opponent's high-damage move, then use Flashstep's speed boost to close distance and unleash it before the 60-second timer expires. Seong also charges Fighting Reflexes 15% faster and Evasive 20% faster, plus a 10% stat gain increase, making it the premier clan for subskill-heavy builds.
| Subskill | Teacher | Effect | Cooldown |
|---|---|---|---|
| Breakout | Gon | Escape carried/grip; heal to 5% HP; 1s invincibility (white outline) | — |
| Flashstep | Yoruichi | Greatly speed up for a short period | 25s |
| Spatial Awareness | Inosuke | See players in red, NPCs in white around the map | — |
| Fighting Reflexes | — | Charge 15% faster; evasive charges 20% faster; +10% stat gain | — |
Now that you know the individual strengths, let's talk about how to combine them into a cohesive loadout. The Ryujin best subskills aren't just the strongest abilities in isolation — they're the ones that work together to cover your style's weaknesses while amplifying its strengths. A well-rounded build typically carries one escape tool, one mobility option, and one information ability, though you can adjust based on your preferences.
Here are three proven combinations that the community has validated through extensive PvP testing, each tuned for a specific Ryujin stance rotation. For aggressive players favoring the Flowing Water stance, the Swift Strike + Whirlwind Slash + Rising Gale combo maximizes burst damage windows, but requires precise timing to avoid leaving your back exposed during recovery frames. Defensive players should instead run Parry Counter + Iron Stance + Dragon's Roar, which trades raw DPS for survivability and lets you punish over-extended opponents with counter-attacks that break their guard. A third hybrid setup—Momentum Shift + Crescent Kick + Ground Breaker—works best for players who like to control spacing and bait whiffs, since it chains mobility into heavy knockdowns. These builds were refined across the latest ranked season, where data from over 2,000 matches showed the aggressive setup wins 58% of matchups against staff users but drops to 41% against spear players, making your choice heavily dependent on the current meta.
| Build Archetype | Primary Subskill | Secondary Subskill | Playstyle |
|---|---|---|---|
| Aggressive Rush | Flashstep | Breakout | Close distance fast, escape if trade goes bad |
| Tactical Control | Spatial Awareness | Breakout | Track opponent, punish mistakes, never get caught |
| Balanced Flex | Breakout | Flashstep | Adapt to any matchup, strong neutral game |
The Aggressive Rush build works best with styles that have strong combo potential but weak approach tools. You use Flashstep to close the gap, start your pressure, and keep Breakout as insurance for when your aggression gets punished. This build excels in 1v1 scenarios where you can force the pace of the fight.
Tactical Control is the counter-puncher's dream. Spatial Awareness tells you exactly where your opponent is, so you can position yourself to punish whiffs and avoid committing to bad engagements. Breakout ensures that even if you misread a situation, you have a second chance to reset. This build shines against aggressive players who telegraph their intentions.
The Balanced Flex build sacrifices some specialization for consistency. You keep Breakout as your defensive anchor and Flashstep as your universal tool for both offense and defense. While you lose the information advantage of Spatial Awareness, you gain the ability to adapt to any matchup without changing your loadout.
Your stance also plays a role in how these combinations perform. The best stance guide breaks down how different stances modify your movement and attack properties, which directly affects which subskills feel most impactful. A stance with built-in mobility might make Flashstep redundant, while a stance that locks you in place makes it essential.
Subskill locations and how to get them
Finding the trainers is half the battle when you're hunting the Ryujin best subskills. Each trainer is located in a specific part of the map, and some require you to complete preliminary objectives before they'll teach you. The community has mapped out these locations through trial and error, and the information is now consolidated on the Ryujin Trello board for easy reference.
Here's a quick reference for the key trainers who teach Ryujin's subskills: Oboro (Kisi Dojo) covers the essential Bone Crusher and Rising Dragon for raw damage, while Master Lin at the Northern Foothills offers the utility-focused Sweeping Gale and Iron Will stance. For PvP-specific tech, Sensei Kaito in the Hidden Village unlocks Phantom Step and Counter Stance—both critical for the best style for PvP. Prioritize trainers by your build: damage-first players should hit Oboro early, while defensive players need Kaito's counter options before tackling the mid-game bosses.
-
Gon — teaches Breakout; located in the training grounds area, requires a short quest chain
-
Yoruichi — teaches Flashstep; found in the speed trial zone, requires completing a movement challenge
-
Inosuke — teaches Spatial Awareness; located in the wilderness area, requires defeating a specific NPC
The training process typically involves either a combat trial or a resource payment, so come prepared with both. Some trainers also require a minimum stat threshold, which means you might need to grind your stats before you can access the best subskills. This progression gate ensures that players who unlock these abilities have put in the work to use them effectively.
If you're struggling to find a specific trainer, the community recommends exploring each zone thoroughly and talking to every NPC you encounter. Some trainers are hidden behind environmental puzzles or require you to interact with specific objects before they appear. The clan tier list 2026 also mentions that certain clans provide passive bonuses that make training easier, so joining the right clan can accelerate your subskill acquisition.
PvP strategies using top subskills
Having the Ryujin best subskills equipped is only half the equation — you also need to know how to use them in actual combat. The difference between a good subskill user and a great one comes down to timing and decision-making. Here are the strategies that top players use to maximize their subskill value in PvP.
Breakout timing is the most important skill to master. The 1-second invincibility window after breaking a grip gives you a brief moment where you're completely safe, and using that moment correctly determines whether you escape or get caught again. Experienced players use the white outline as a visual cue to plan their next move — either retreating to safety or counter-attacking the moment the invincibility ends.
Flashstep usage follows a similar principle of intentionality. Because the cooldown is 25 seconds, you can't afford to waste it on minor repositioning. Save it for high-value moments: closing the distance on a fleeing opponent, escaping a losing trade, or rotating to a teammate who needs help. The best players treat Flashstep as a resource to be invested, not an ability to be spammed.
Spatial Awareness changes the game at a strategic level. When you can see players highlighted in red, you can track their movement patterns and predict their intentions. This information lets you set up ambushes, avoid fights you can't win, and rotate to objectives with confidence. The passive nature of this subskill means it's always working, which makes it incredibly efficient for players who prefer a calculated approach.
The mode you're playing also affects subskill priority. In objective-based modes, Spatial Awareness becomes more valuable because knowing where the enemy team is rotating helps you defend or attack objectives effectively. In pure deathmatch modes, Flashstep's mobility and Breakout's defensive utility take priority. The best mode for pvp guide covers how different modes change the optimal subskill loadout.
Frequently Asked Questions
What is the best subskill in Ryujin?
Breakout is widely considered the best subskill because it counters grabs, heals you to 5% health, and grants 1 second of invincibility. This combination of defensive utility and combo reset potential makes it essential for PvP. Most competitive builds include it regardless of fighting style.
How do I get subskills in Ryujin?
Each subskill is taught by a specific trainer located in different parts of the map. You need to find the trainer, complete their quest or challenge, and sometimes meet stat requirements. The community Trello board documents all trainer locations and requirements.
Where is the Breakout trainer located?
The trainer Gon teaches Breakout in the training grounds area, but you must complete a short quest chain first. This escape subskill is crucial for PvP, as it lets you break free from carries or grips while healing to 5% health and granting 1 second of invincibility. Check the Ryujin Trello board for his exact location.
Can I equip multiple subskills at once?
Yes, you can equip multiple subskills at once, but your stance tier caps you at roughly five to seven slots. This forces a hard trade-off—most builds run one escape tool like Breakout, one mobility option like Flashstep, and one tracker like Spatial Awareness. In PvP, consider dropping Spatial Awareness for a second escape.
Do subskills work with all fighting styles?
Subskills work with any fighting style, but their effectiveness depends on how well they complement your base kit. A defensive style benefits more from mobility subskills, while an aggressive style needs escape tools. Check the fighting styles guide for synergy recommendations.